
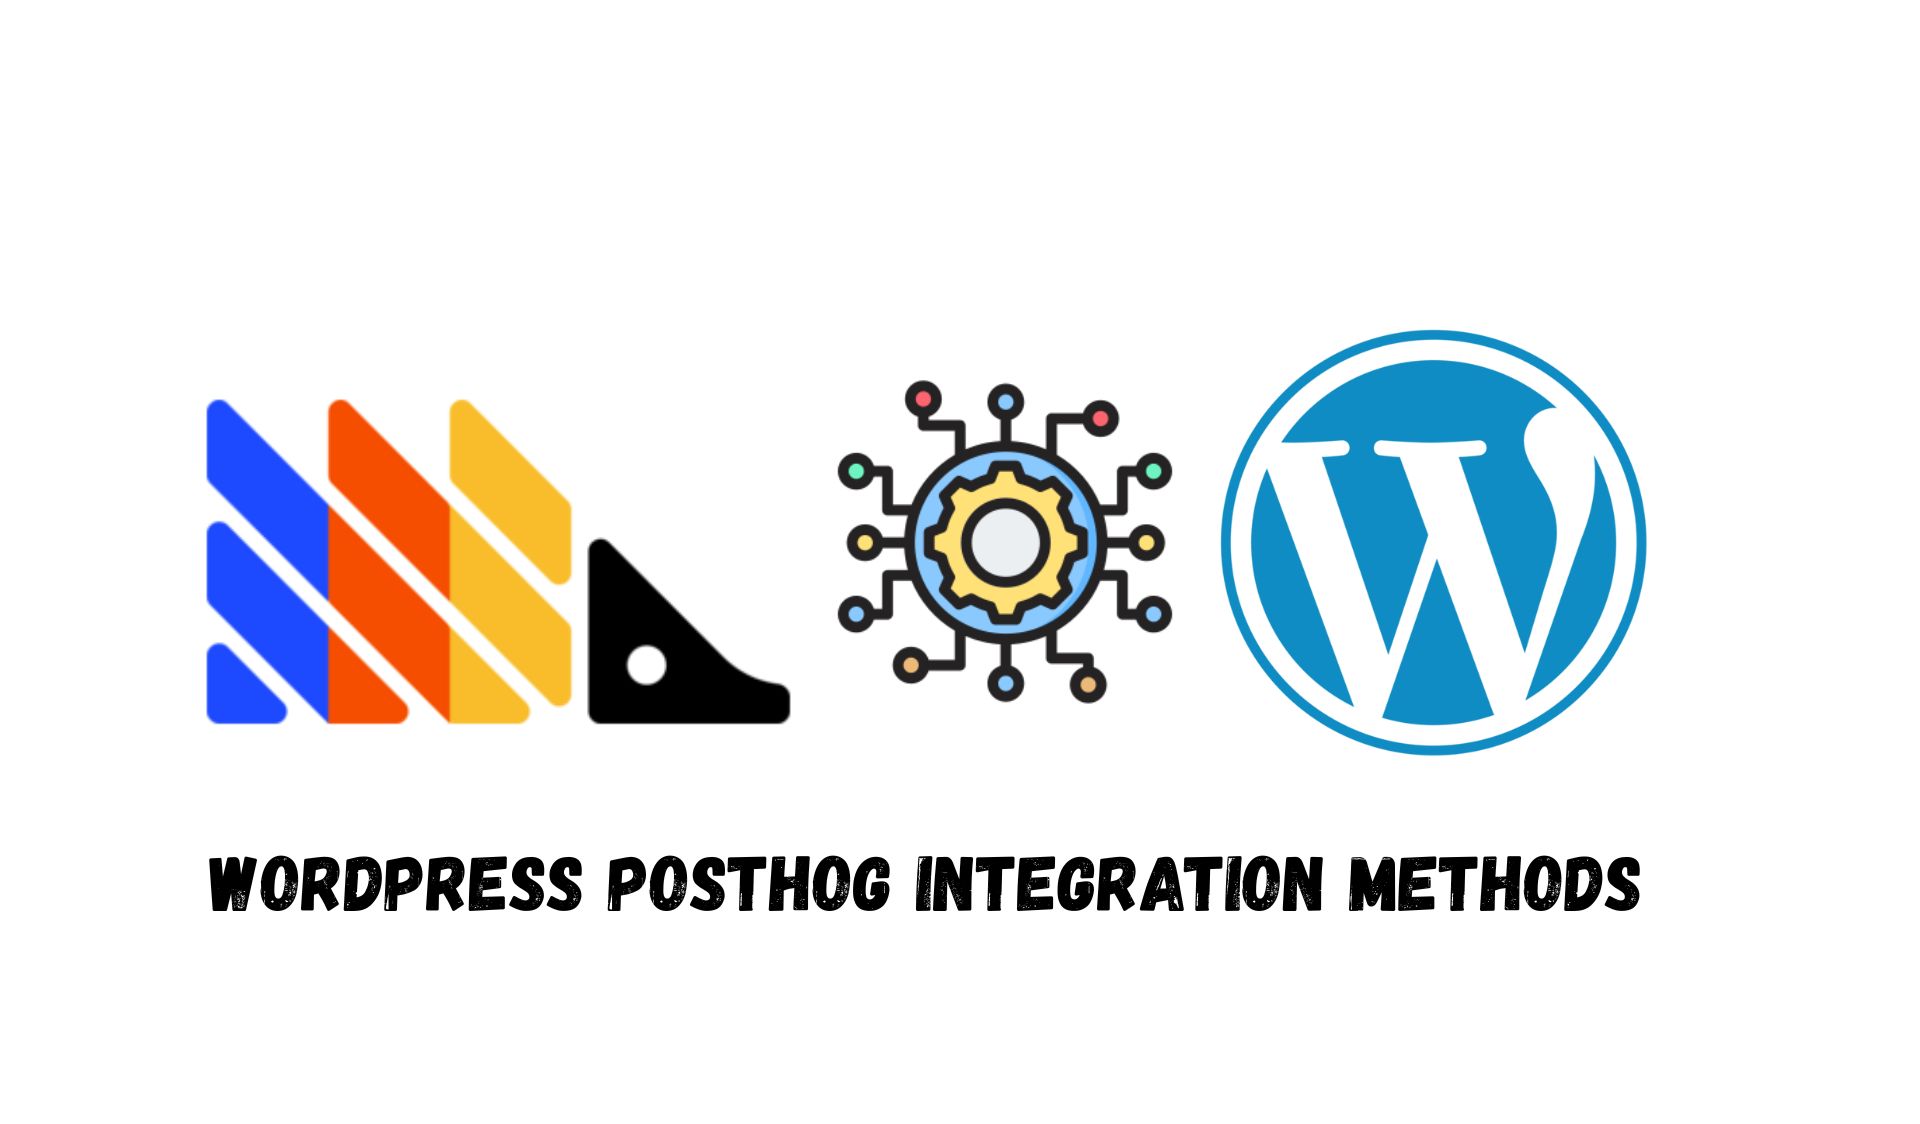
If you have a WordPress website and want to set up PostHog, you’re probably wondering which plugins, extensions, or integration options are available. At the time of writing, there are a few reliable methods. In this post, I’ll walk you through each option so you can choose the one that best fits your setup.
1. Use Code Manager Plugins
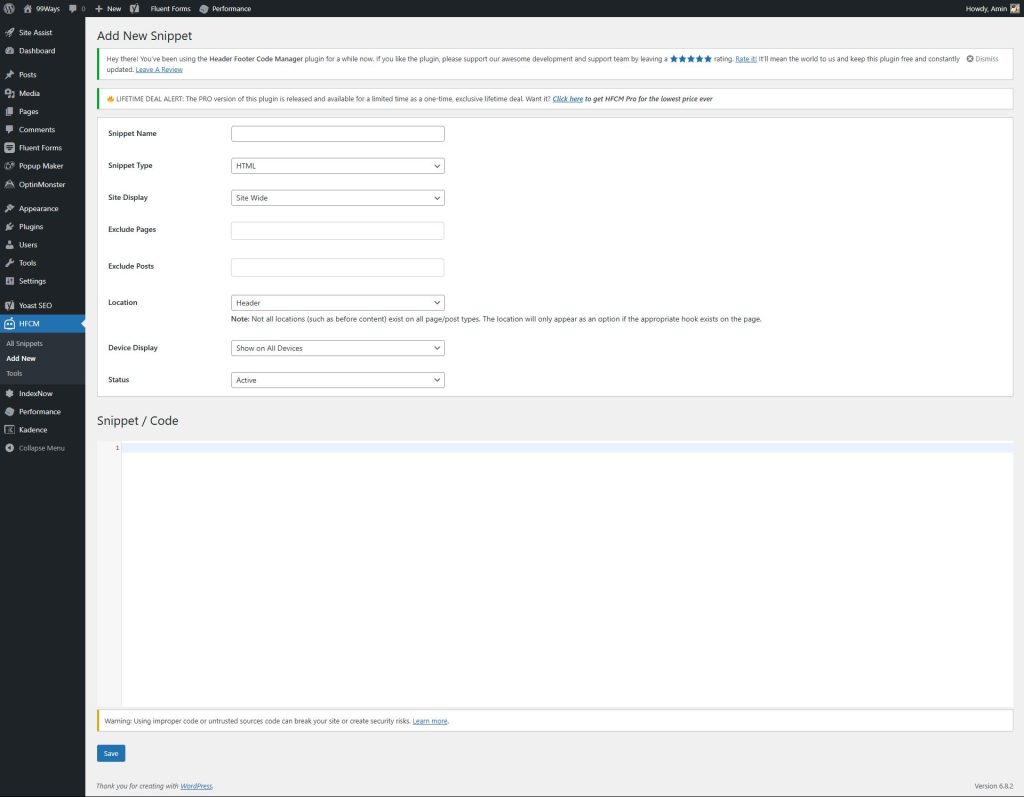
The easiest way to add PostHog is with a code manager plugin. These plugins let you inject custom code into your WordPress site without touching theme files.
By placing the PostHog JavaScript snippet in your site’s header, you can automatically start tracking user interactions and events. If you’re running WooCommerce, you can also track e-commerce events like product views, cart additions, and completed checkouts.
Two popular free options are:
We personally use Header Footer Code Manager and find it really handy.
For a step-by-step walkthrough, check out our guide: How we installed PostHog on WordPress
This option is great if you have at least some technical background, since it gives you flexibility to customize PostHog’s full range of features.
2. Manual Setup
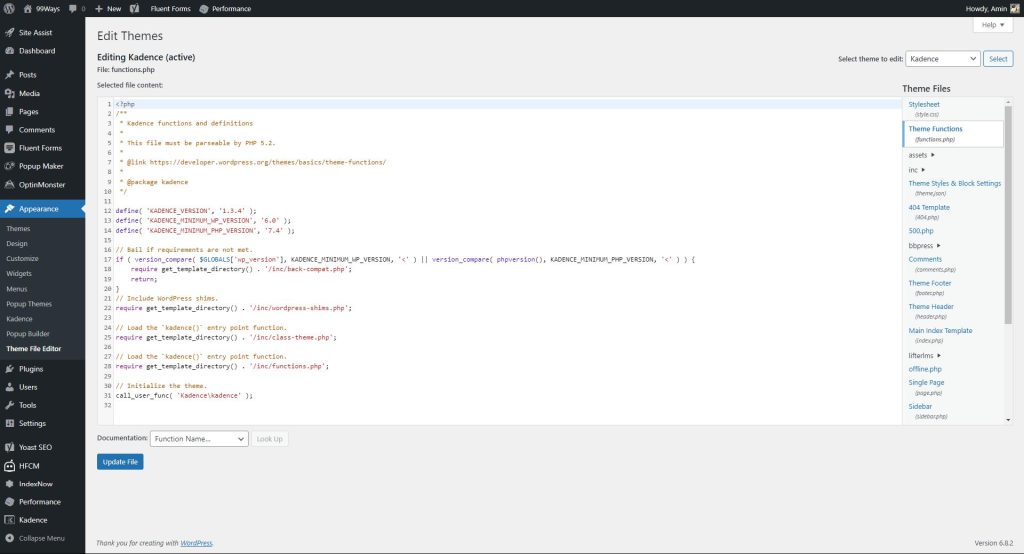
For advanced users, you can also install PostHog manually by editing your theme’s functions.php file. This approach gives you more control, but it does require coding knowledge and careful implementation to avoid conflicts or errors.
If you’re comfortable editing code, you can follow PostHog’s own guide here: Edit your theme’s functions file
This method isn’t for everyone, but if you want maximum control, it’s worth considering.
3. WordPress Integration Plugins
Instead of just injecting the snippet, some dedicated plugins are built specifically to make PostHog integration even easier.
PostHog Web Analytics for WordPress
The PostHog Web Analytics for WordPress plugin lets you connect PostHog to your WordPress site by simply entering your Project API Key, Project ID, and Project Region. Once connected, it will automatically track user interactions and events.
For those needing to meet GDPR, HIPAA or other privacy requirements, the plugin can be set in a cookieless mode.
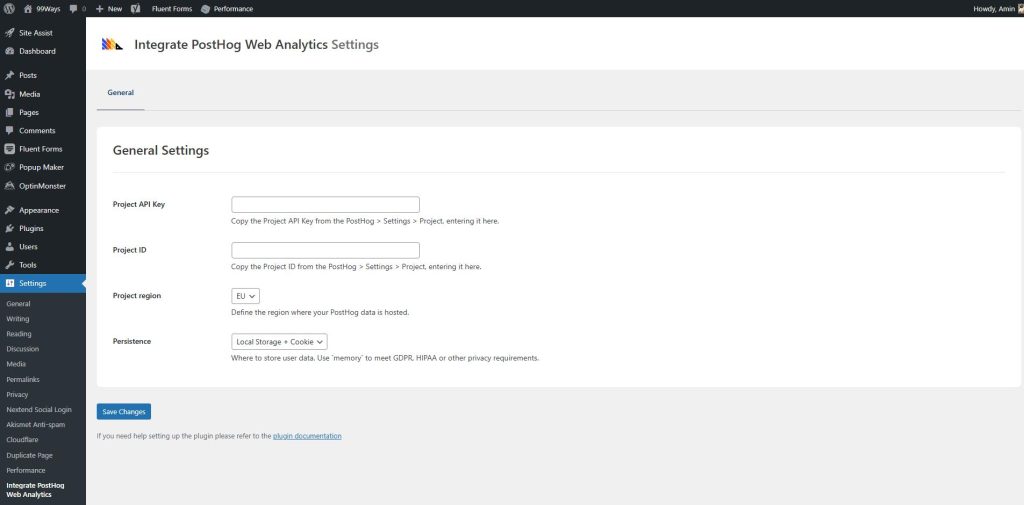
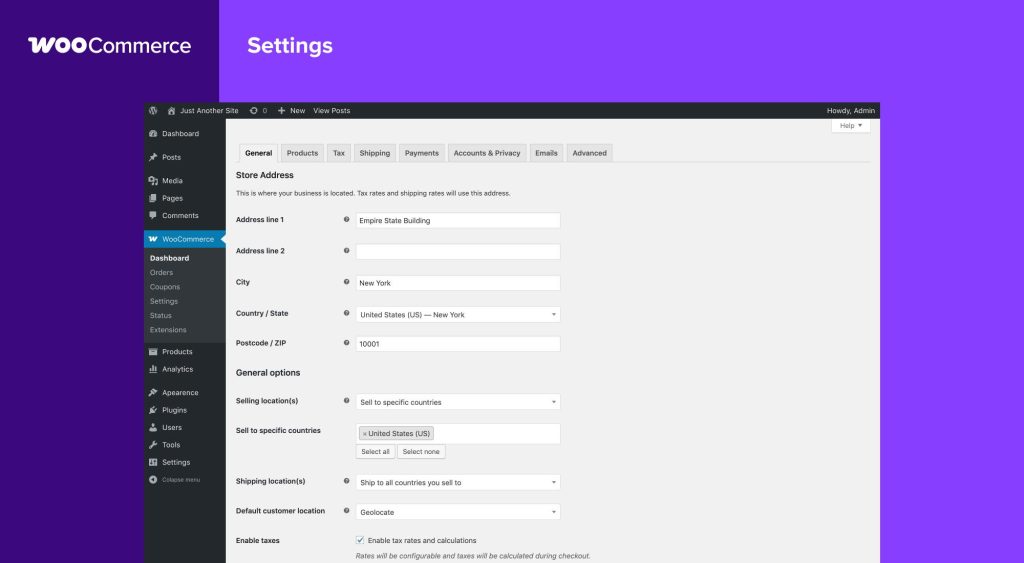
It also has WooCommerce support, letting you capture events such as product views and completed checkouts. Just make sure you have WooCommerce installed first, then enable the integration.
All-in-1 Analytics and Consent Banner – WP Full Picture
Another option is WP Full Picture, which supports multiple analytics platforms including PostHog. You only need to provide your Project API Key.
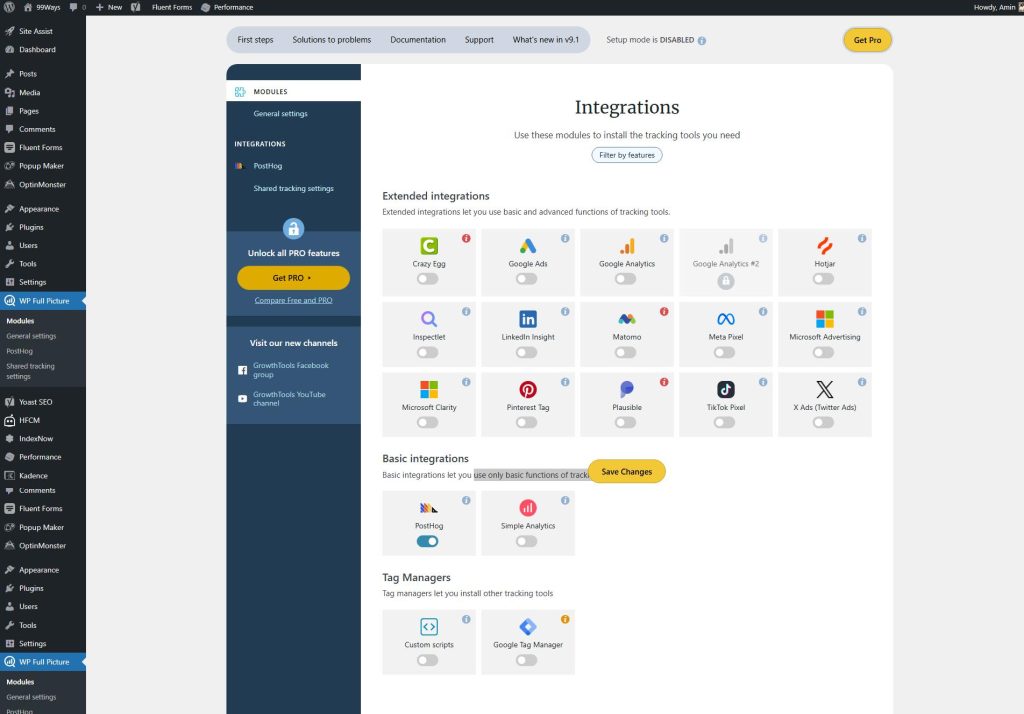
The advantage is that it can replace several plugins at once and simplify setup. The downside: you only get access to basic PostHog functionality. If you want to use advanced features and custom event tracking like WooCommerce, this plugin won’t cover it.
4. Third-Party Integration Platforms
Finally, you can connect PostHog and WordPress through external platforms like Zapier.
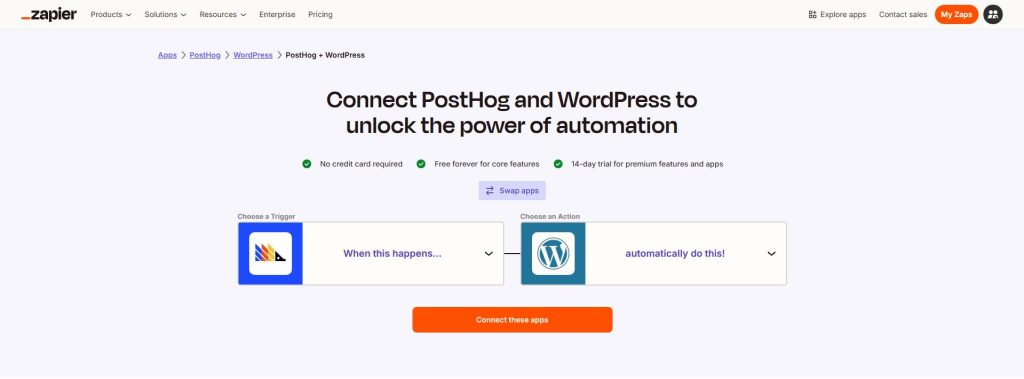
This approach is useful if you only need to send specific custom events to PostHog. But keep in mind, it doesn’t actually run PostHog on your website, so features like session recordings, heatmaps, and autocapture won’t work.
That said, if you have a very specific requirement, third-party tools can still come in handy.

Final Thoughts
There’s no single “best” way to integrate PostHog with WordPress; it depends on your technical comfort level and the features you need:
- Use a code manager plugin if you want simplicity with flexibility.
- Go with manual setup if you need maximum control.
- Choose a dedicated PostHog plugin for the easiest configuration.
- Consider third-party integrations only if you have niche requirements.
Whichever route you pick, PostHog is a powerful analytics tool that can give you deeper insight into how users interact with your WordPress site.
Frequently asked qusetions
What’s the easiest way to install PostHog on WordPress in 2025?
For most site owners, the easiest options are:
A code manager plugin (like “Insert Headers and Footers” / WPCode / Header Footer Code Manager) where you paste the PostHog snippet once and it loads on every page.
Or a dedicated PostHog plugin like “Integrate PostHog Web Analytics,” where you just paste your Project API Key and instance URL into a settings screen and it injects the tag. (+)
If you’re non-technical, the dedicated PostHog plugin is the least error-prone; if you already manage other scripts via a header plugin, adding the snippet there is just as simple.
Which PostHog install method is best for WooCommerce?
If you want proper WooCommerce event tracking in PostHog, the best option right now is a PostHog-aware analytics plugin with explicit WooCommerce integration, such as Integrate PostHog Web Analytics (which has a WooCommerce tab for product views, add-to-cart, checkout started/completed, etc.).
You can drop the raw snippet with a header plugin or manual code, but you’ll then have to manually implement all the e-commerce events yourself, which is more fragile and time-consuming.
Will PostHog slow down my WordPress site or hurt Core Web Vitals?
Any analytics script adds some overhead, but PostHog’s web analytics library is designed to be small and loaded asynchronously, so it doesn’t block rendering when installed correctly. (+)
The real performance killers are usually: loading multiple overlapping tracking tools, misconfigured caching, or adding the snippet several times (theme + plugin + GTM). Keep PostHog installed once, let it load asynchronously, and your Core Web Vitals impact should be negligible.
How do I keep PostHog GDPR-compliant on a WordPress site?
Compliance is a combo of how you host PostHog and how you handle consent:
Use PostHog Cloud EU or a properly configured self-hosted instance to keep EU data in appropriate regions.
Get valid consent before tracking non-essential data and document it (cookie banner / CMP). (+)
If you want to go further, use cookieless mode (no identifiers stored in cookies) for pure audience measurement and configure PostHog accordingly.
Plugins like WP Full Picture help here because they combine consent management with analytics integrations and a GDPR-compliant banner.
Can I use PostHog in a cookieless way on WordPress?
Yes. PostHog supports cookieless tracking by changing how the JavaScript library stores identifiers (for example, using in-memory persistence instead of cookies).
The Integrate PostHog Web Analytics plugin exposes this via a “Persistence = Memory” setting, which they explicitly recommend for GDPR/HIPAA-sensitive use cases.
This lets you run privacy-friendly web analytics on WordPress without dropping analytics cookies at all—at the cost of losing long-term user-level history.
Can I use PostHog together with Google Analytics or Matomo?
Yes. PostHog is just one more analytics script; you can run PostHog + GA4 + Matomo side-by-side if you want.
In fact, tools like WP Full Picture or other script managers are built precisely to handle multiple analytics platforms and a single consent banner across all of them.
Common pattern in 2025: use GA4 for “standard” reporting, and PostHog for deeper event, funnel, replay, and experimentation data.
Does PostHog work with Elementor, Divi, and other page builders?
Yes. PostHog runs at the theme / header level, not inside a specific page builder widget.
As long as your theme (and therefore Elementor/Divi/Bricks/etc. templates) correctly call wp_head() and wp_footer(), the PostHog snippet from your plugin or header code manager will load on every page and track all builder-generated content.
You only need special handling if you’re doing something very exotic, like fully custom templates that bypass WordPress’ normal header/footer hooks.
Does PostHog work with WordPress Multisite and subdomains?
Yes. On Multisite, you have two main options:
Install your PostHog plugin network-wide and configure it per site, sending each site to the same PostHog project with properties like
site_domain, or to separate projects if you need strict separation.Or install/activate the plugin only on specific subsites that should be tracked.
For subdomains, PostHog’s JS library can track them into the same project – you just need a consistent snippet and configuration across those domains.
How do I enable session recordings and heatmaps for WordPress in PostHog?
Once the JavaScript snippet is installed on your WordPress site, you:
Go to PostHog → Project Settings → Session replay and enable session recordings. (+)
Confirm the web analytics / product analytics event stream is coming in.
Session replays, heatmaps, funnels, and paths all piggyback off the same event stream; there’s no extra WordPress plugin. You just need the snippet live and recordings turned on in the PostHog UI.
How do I test if PostHog is installed correctly on my WordPress site?
Basic sanity check:
Open your site, then open DevTools → Network and filter for
posthog. You should see requests going to your PostHog instance.In PostHog, open Live events / Recent activity and visit a couple of pages; you should see your pageviews and clicks coming in almost in real time.
If you’re using a plugin, double-check that your Project API key and instance URL match the values in PostHog project settings.
If you don’t see events, it’s almost always: wrong API key, snippet not loaded on that template, or caching/CDN aggressively stripping scripts.
Can I just use Zapier or third-party tools instead of the PostHog script?
You can send specific events (like “new WordPress user” or “new WooCommerce order”) into PostHog via Zapier or other integration platforms, but that does not actually run PostHog on your site.
Without the JavaScript snippet:
No session recordings
No heatmaps
No autocapture of clicks, rage clicks, scrolls, etc.
Third-party tools are fine for niche, backend-only events, but you still want the script for full product analytics.
Should I use PostHog Cloud or self-hosted PostHog for WordPress?
Trade-off is simple:
PostHog Cloud (especially Cloud EU) is easiest: no infrastructure, automatic updates, good defaults, and you just drop the snippet on WordPress.
Self-hosted PostHog gives you full data ownership and control (important for strict compliance or big enterprises), but you’re responsible for deploying, scaling, and securing it.
For 99% of WordPress sites under serious time/resource constraints, Cloud EU + proper consent is the pragmatic choice.
Do I need a developer to install PostHog on WordPress?
You don’t need a developer if you:
Use a code snippet plugin and paste the snippet into the header, or
Use a dedicated PostHog plugin and paste your keys into settings.
You probably do want a dev (or analytics engineer) if you’re:
Self-hosting PostHog,
Setting up custom tracking for complex WooCommerce funnels or membership flows, or
Migrating from a messy existing tag setup (multiple pixels, GTM, etc.).
What’s the safest way to change themes without breaking PostHog tracking?
If your PostHog snippet is added via a plugin (code manager, PostHog Web Analytics, WP Full Picture, etc.), changing themes will not affect tracking – the plugin still injects the code.
If you hard-coded the snippet in header.php or functions.php, switching themes will drop the code and PostHog will go dark until you add it back.
Best practice in 2025: keep PostHog in a plugin layer, not in the theme, so redesigns don’t touch analytics.