
Today, I want to explain how to integrate your PostHog conversion tracking with Google Ads. The objective is to achieve the highest possible event match quality by leveraging all available customer data stored in PostHog, replicating the same level of precision and completeness we implemented for other platforms.
If you’re looking for PostHog integrations with other advertising platforms, see:
- PostHog <> Meta: Event tracking integration
- PostHog <> Pinterest: Event tracking integration
- PostHog <> TikTok: Event tracking integration
- PostHog <> Reddit: Event tracking integration
- PostHog <> Snapchat: Event tracking integration
If you want a custom implementation without the technical work, contact us through the ‘Contact Us’ button in the sidebar and we’ll help architect and deploy a tracking solution tailored to your business needs.
Requirements
We assume you already have PostHog setup and tracking the events you intend to send to Google Ads. If not, go to installation guides in our PostHog articles, OR reach out to us to schedule a free consultation call.
Start Here
PostHog Destinations [Doc] is the feature that streams your data to external systems in real time. The ‘Google Ads Conversions’ destination [Doc] is a default PostHog integration that we use to send your conversion events directly to Google Ads.
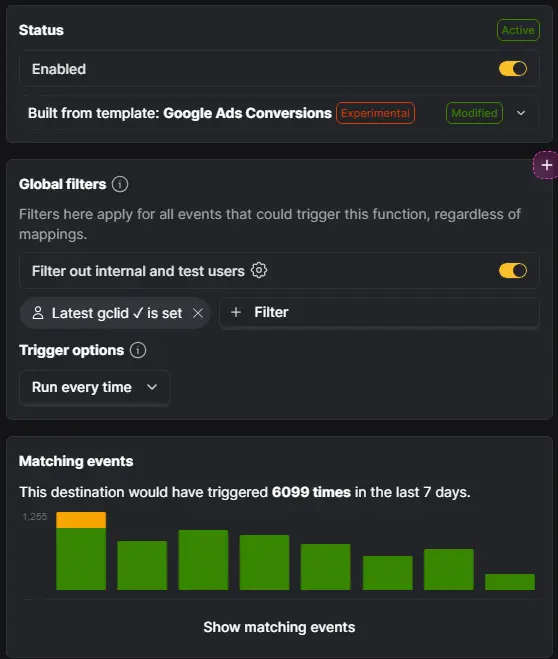
To start, navigate to ‘Data management’ and then to ‘Destinations’. Here, you can find your required destination by selecting ‘Google Ads Conversions’.
Unlike the Meta setup where teams often create separate destinations per event, Google Ads can usually be handled in one destination by adding multiple mappings; one per conversion action.
By default, Google only accepts conversions with a valid GCLID. Therefore you can set a global filter to only send events where person’s latest gclid is present. If you have enhanced conversions enabled, Google allows you to send events without a GCLID, but only if you send hashed customer info as well. In that scenario, your filter will be a SQL like this:
person.properties.gclid IS NOT NULL
OR person.properties.email IS NOT NULL // change email to any field you actually have & send
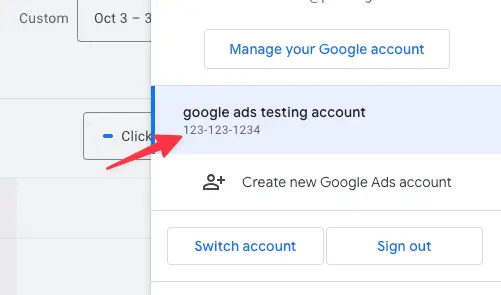
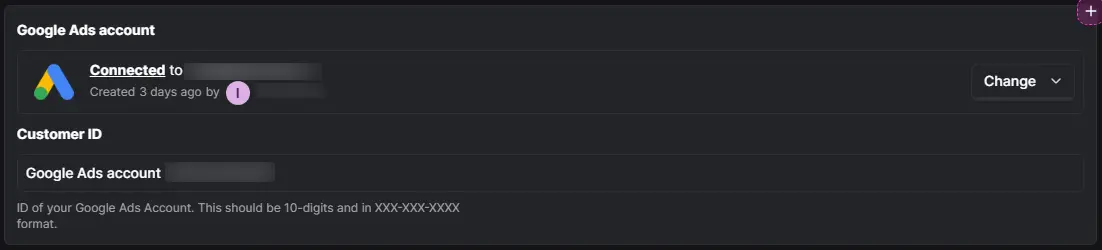
Connect google ads account
Now you should connect your google ads account at this step. then fill the Customer ID field with the ID that is available in your google ads account.
Mappings
Here, you configure which PostHog events will trigger which Google conversion events. PostHog provides a default mapping template that can be used as a base for any event you want to send. You can edit or duplicate this mapping and modify both the name and the corresponding PostHog event to match your intended conversion action.
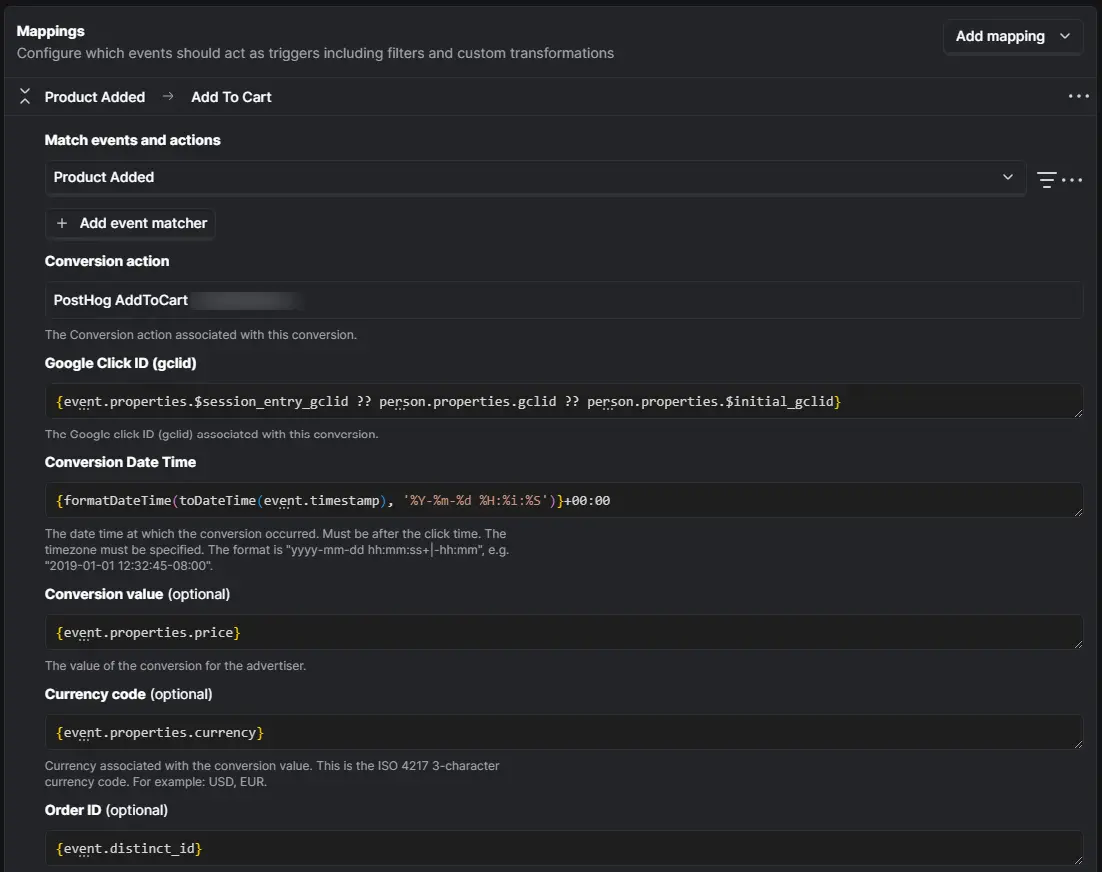
Match events and actions: Your PostHog event. If there are multiple events, define them as an action first to make it easier to select here.
Conversion action: The Google Ads conversion action that should receive this event. You need to have them created at least 6hours in advance. (Yeah, this is a ridiculous Google Ads limitation.)
Google Click ID (gclid): Self-explanatory. Use the latest GCLID rather than initial, for the best attribution results.
In the default template, you’ll typically see PostHog prefills this field with ‘{person.properties.gclid ?? person.properties.$initial_gclid}’, but you can adjust it if your gclid is stored under a different property name.
Conversion Date Time: This field represents the exact date and time when the conversion occurred. PostHog automatically formats it correctly and prefills it with {formatDateTime(toDateTime(event.timestamp), ‘%Y-%m-%d %H:%i:%S’)}+00:00, which matches Google’s required timestamp format.
Optional But Essential
From this point onward, all fields are optional. However, we will focus only on the ones we consider essential to send to Google Ads in order to achieve the highest possible event match quality.
Conversion value: This represents the revenue generated from the conversion. Map it to the appropriate property in PostHog, such as ‘{event.properties.price}’ or ‘{event.properties.total_amount}’, depending on your implementation.
Currency code: This field defines the ISO currency code (e.g., USD, EUR) for the conversion value. Map it to the appropriate PostHog property, typically ‘{event.properties.currency}’.
Order ID: This is the unique transaction identifier for the conversion. It must be unique per conversion action to avoid duplication. Map it to a transaction-level property in PostHog, such as {event.properties.order_id} or {event.properties.transaction_id}.
Add IP, Name, & Email Fields
The remaining fields are not visible on the default page, so you must create them by clicking on ‘Add input variable.’ This button only appears after you open the ‘Edit source’ section below.
Once you click ‘Add input variable,’ a new raw field will appear with a generic name. You should then edit both the ‘Display label’ and the ‘Input variable name’ to match the exact field you want to send. You can access these editable settings by clicking the gear icon on the right side of the field.
For example, to create a field for IP Address, set the “Display label” to “IP Address” and the “Input variable name” to the property where your IP address is stored, such as {event.properties.$ip}.
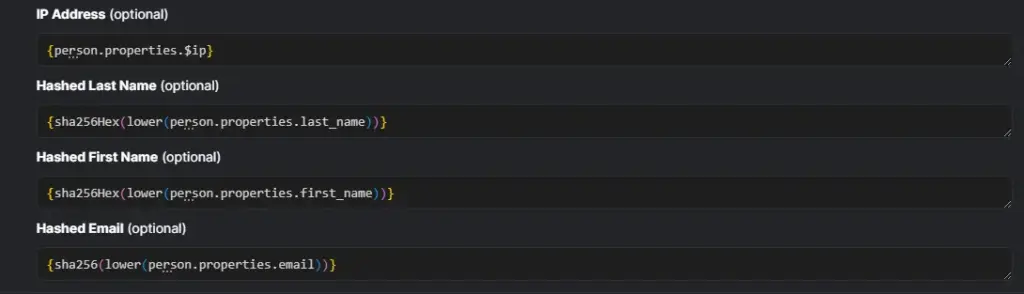
IP Address: Typically mapped from {event.properties.$ip}. Ensure IP capture is enabled and that you are sending the end user’s IP address rather than your server’s IP. In third-party integrations (e.g., RevenueCat), the IP may instead be available under ‘{event.properties.subscriber_attributes.$ip}’.
Quick note: Email address, first name, and last name must be normalized (lowercased) and hashed with SHA-256 before being sent, following the same process used for Meta.
em: Email address. If you set this property you can catch it with this {sha256Hex(lower(person.properties.email))}
fn: First name. Same as above, it will be {sha256Hex(lower(person.properties.first_name))}
ln: Last name. Same as above, it will be {sha256Hex(lower(person.properties.last_name))}
Manage Source Code
To add custom fields and fully align the destination with your data structure, you’ll need to edit the source code of the destination template. This allows you to define additional input variables, adjust mappings, and ensure the payload matches your specific implementation.
Below is an example of the source code we use in one of our projects that follows the configuration outlined above.
Test before you Start
Before going live, test the configuration to confirm that conversions are being sent correctly and no errors appear in the destination logs.